Creating 2D Renders in Blender (Isometric & Top Down)
Terrain Tinker can be used to design a scene in 3D and then export it as a 2D render to print or use in virtual tabletops.
If you want a simple 2D render you can use the 2D Top-Down export feature built into Terrain Tinker - read about that here: https://support.terraintinker.com/article/22-how-to-export-2d-top-down
If you want a more complex render such as an isometric one or a workflow you can customise, read on!
We will be using Blender to render the scene in 2D so please make sure you have that installed. No prior experience with using it is necessary to follow along.
We will be using the Letholdus Family Home by Printable Scenery which you can find here.
You should follow through all the steps here at least once but if you want a head-start we have a Blender file with the render settings, lighting and camera setup which you can download here.
Note: You can click on any image on this page to make it larger.
Importing your scene
Create a scene in Terrain Tinker, save it, and then create a "Color 3D Model" export in the Print Screen.
Under Additional Settings make sure that you select "Scale down models" so that we can work with them in a size better for Blender than for 3D printing.

Wait for the export to complete. You will see a notification at the top of the screen in Terrain Tinker or you can view the export in your "My 3D Prints" screen. Download the file and you will get a GLTF file in GLB format.

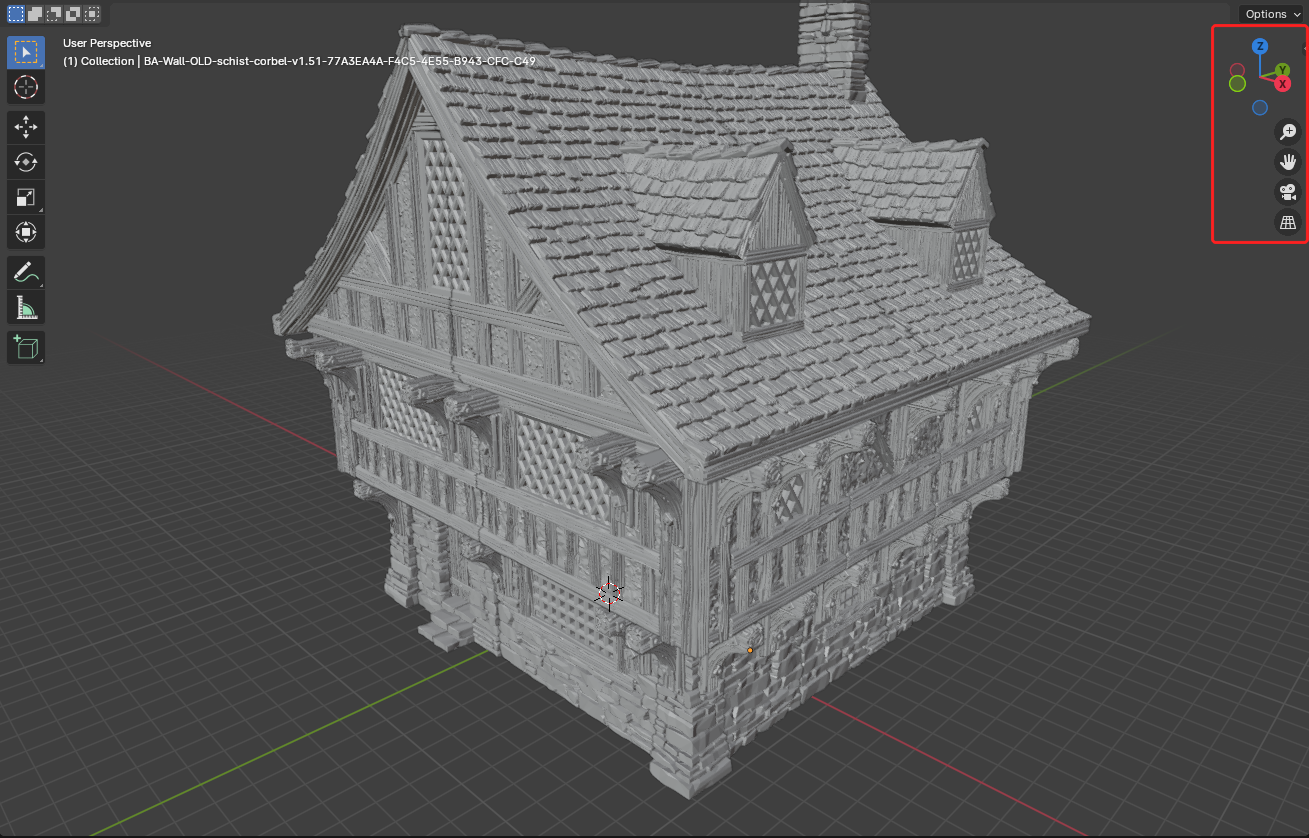
Open up Blender and you will see the default scene:

If you do not see the default scene, you will need to add a Camera to the scene by pressing Shift + A and selecting Camera.
First we need to delete the cube, so click on it and press the Delete key or Right click and select delete.
Now we need to import our Terrain Tinker scene, so in Blender press File > Import > glTF 2.0.
In this window you need to tick Merge Vertices on the right panel and then select your file to add it to the scene.

Once it has imported, it will likely be huge and in front of your camera, so use the scroll wheel to zoom out.
Don't worry that you can't see the model colors, they are there and are not showing to make everything run faster.
To rotate the camera use your middle mouse button and to pan the camera hold down Shift and middle click. Position it nicely so you can see your model
If you are using a laptop trackpad you can click and drag the 3D XYZ handles and use the magnifying glass and hand to move around. A mouse is much easier though.
Hide the Camera and delete the Light
For the next step we want to hide our Camera so it doesn't end up grouped with the models. We also need to delete the light as we will be using environment lighting.
In the Scene objects view in the top right, click on the eye next to the default collection that contains the Camera and Light:

Then right click on the Light and press Delete.
Remember to un-hide the Camera once you are done grouping the models.
Grouping models into Floors
If you have multiple floors in your model you probably want to group them so that you can render one at a time.
Position the Viewport for grouping
We want to pull our viewport to the side so that we can see our building side-on and split the vertical layers.
To do this, click on one of the X or Y handles in the top right of the 3D view to snap the scene to side-on:

Enable X-Ray Mode
Next we want to enable X-Ray mode so that we can select all of the models at once in a line. Do that by clicking on the X-Ray mode button in the top right area of the 3D viewport:

Select models
Now we are ready to select the floor of models. Simply click and drag to select the models for a given floor. Be sure to go low enough that you include the floor models!

Now when you see the models selected, we want to add them to a collection. Right click anywhere on your selection and select "Move to Collection":

Press New Collection then name it something like "Middle layer" or "Floor 2".
Once you have done that, you can hide the Collection in the top right Scene Objects list by clicking on the eye, the camera and collapse the list of objects by clicking on the left side arrow:

Repeat this until you have every object in a collection - your Scene Object list should look something like this:

Be sure to leave the layer you want to start working with visible and remember to un-hide your camera! You can also leave X-Ray mode now by clicking the button in the top-right of the 3D viewport again.
Positioning the Camera
Change the camera to Orthographic
Click on your Camera in the Scene Object List on the top right side, select the Camera object (1) and then open the Camera Properties on the lower right side (2).
Change the Type of the camera to Orthographic:

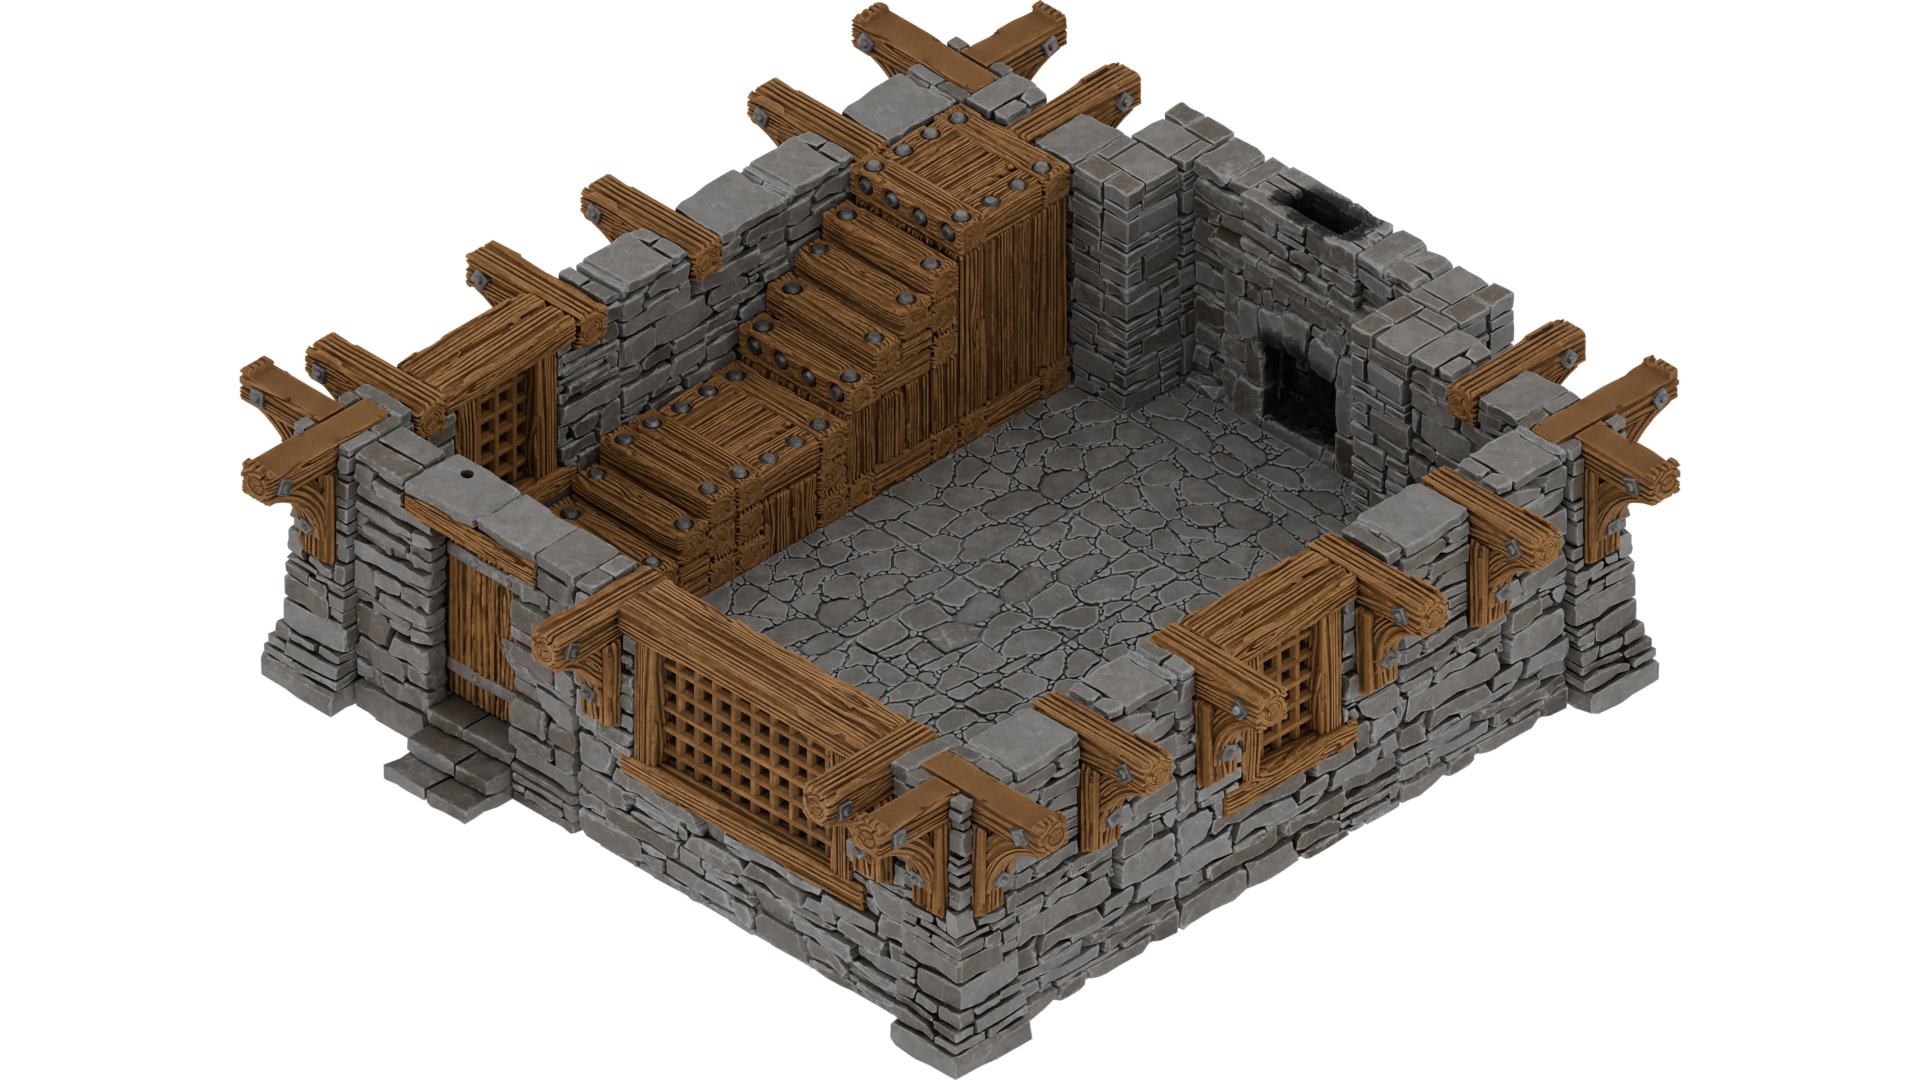
Position the camera for isometric
Select the Object Properties tab on the lower right side and enter the Location and Rotation settings below:

The Rotation X is 54.736 to account for some lens distortion in Blender apparently. But if it seems to distort things for you then change it to 60°.
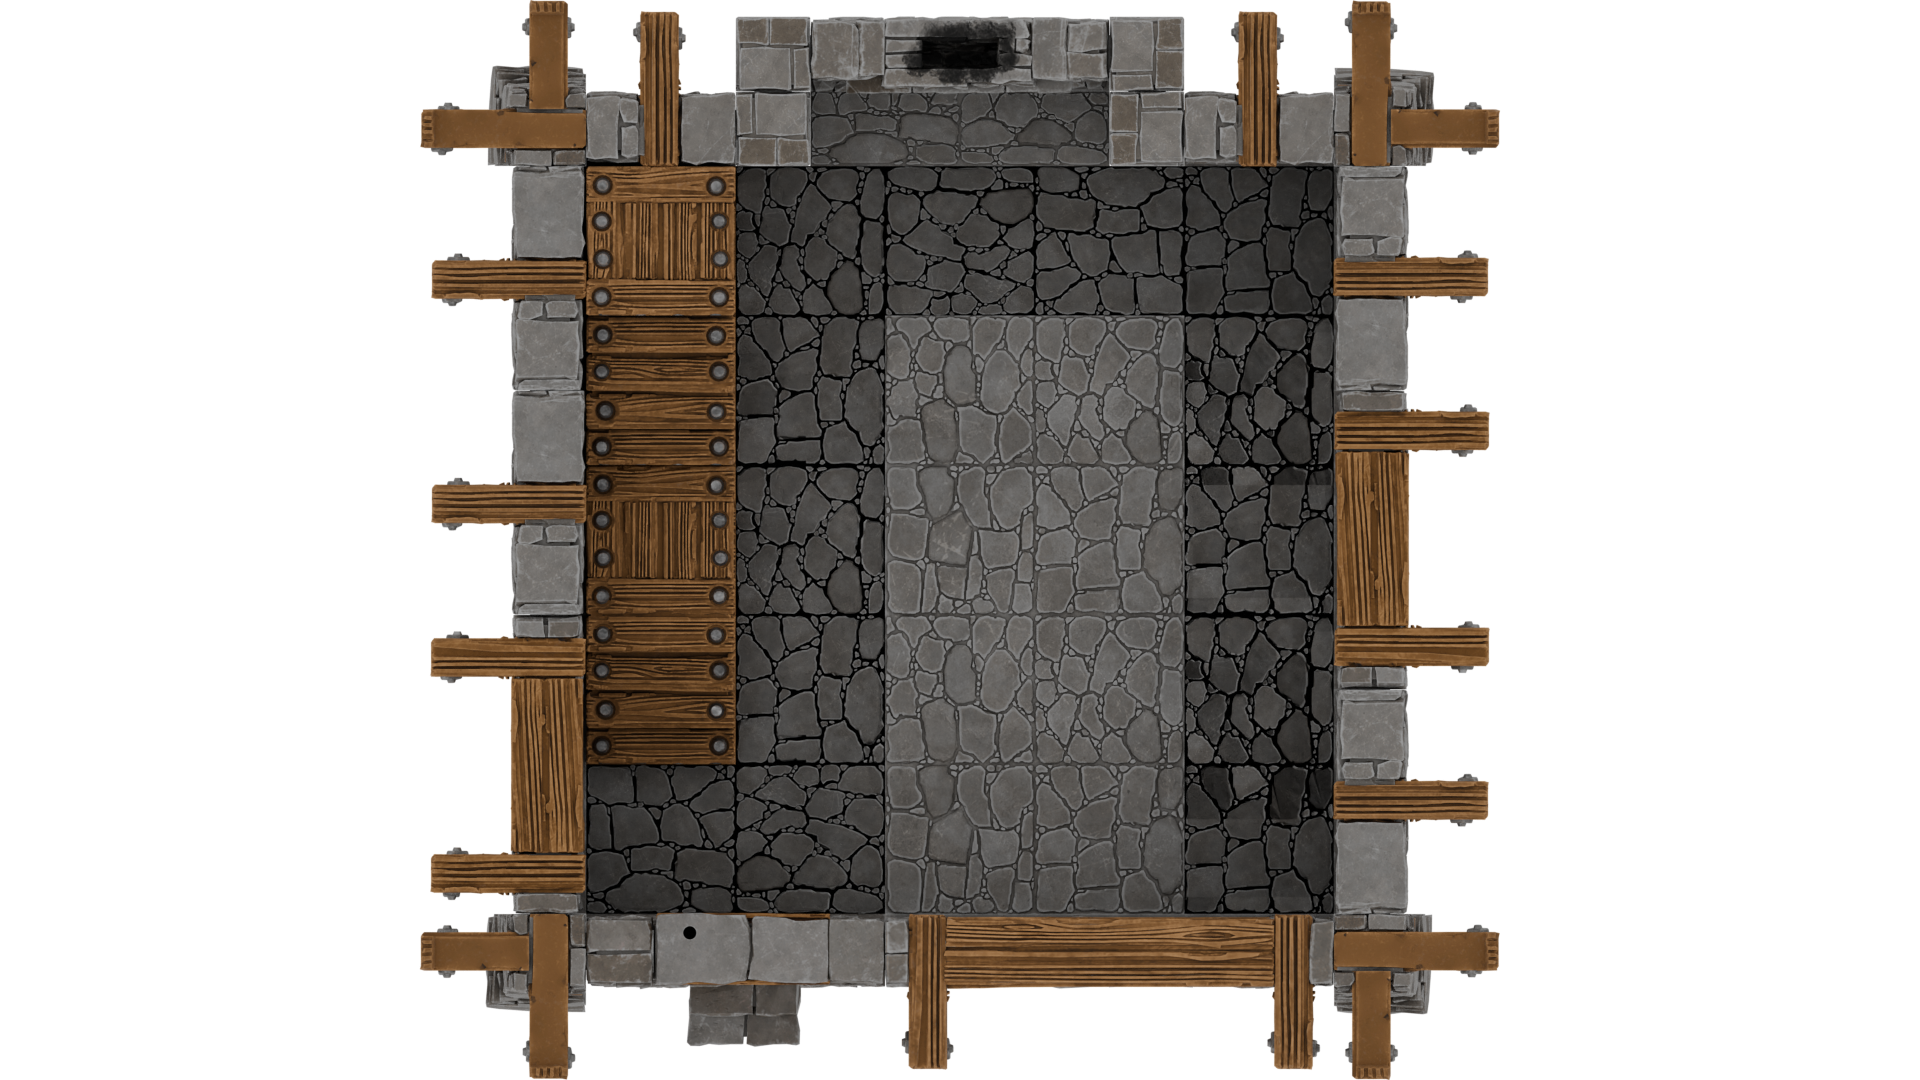
Position the camera for top-down
If you want top-down renders instead of isometric, set the Rotation to 0, 0, 0 instead:

Frame your objects
Now we want the camera to frame our objects. Select your models (just one layer of them) by either dragging your mouse in the scene or right clicking on your collection and pressing Select objects:

Now with all of your models selected, navigate to View > Align view > Align Active Camera to Selected and press it.

You can also access this by pressing F3 and typing "Align Active Camera to Selected" and pressing Enter.
To preview where it has positioned the camera, select View > Viewpoint > Camera or press 0 on your numpad:

Sometimes the Align Active Camera to Selected doesn't zoom out quite far enough to cover everything in your selection. If this happens, just press it again under View > Align view > Align Active Camera to Selected.
You should now see your scene nicely aligned within the Camera view:

You can scroll in here if you want to make it larger to view and the Camera itself will not move.
Lighting
Now lighting is something you could spend a LOT of time with and if you want really great renders you definitely should. But in the interest of simplicity, we are going to use a white environment which will evenly light our scene in a simple way.
Select the World Properties in the lower right side panel, then click on the blank box next to Color and change the Value field to 1.0.

You can play around with using different colors here for different effects but you should try that after we get set up for Rendering!
Rendering
Now open the Render Properties section and change your Render Engine to Cycles and the Max Samples for both the Viewport and the Render to 128. You can increase or decrease this based on how powerful your computer is and how high quality you want the output.
If you have a graphics card (such as in a gaming computer) you should change the Device dropdown to GPU.

Making the background transparent (optional)
Because of our white environment background, that will be the background for our scene.
If you want a transparent background then you should scroll down in the Render Properties, expand Film and enable Transparent:

Make a Render
We've arrived at the final main step! Now all you have to do is press F12 or Render > Render Image

A new window will appear that you will see more detail progressively fill in to until your render is complete!
You can see a progress bar at the bottom of the main Blender application or the Time in the top left of the render window will finish counting up.
To save your Render, click Image > Save as in the top left of the Render window:

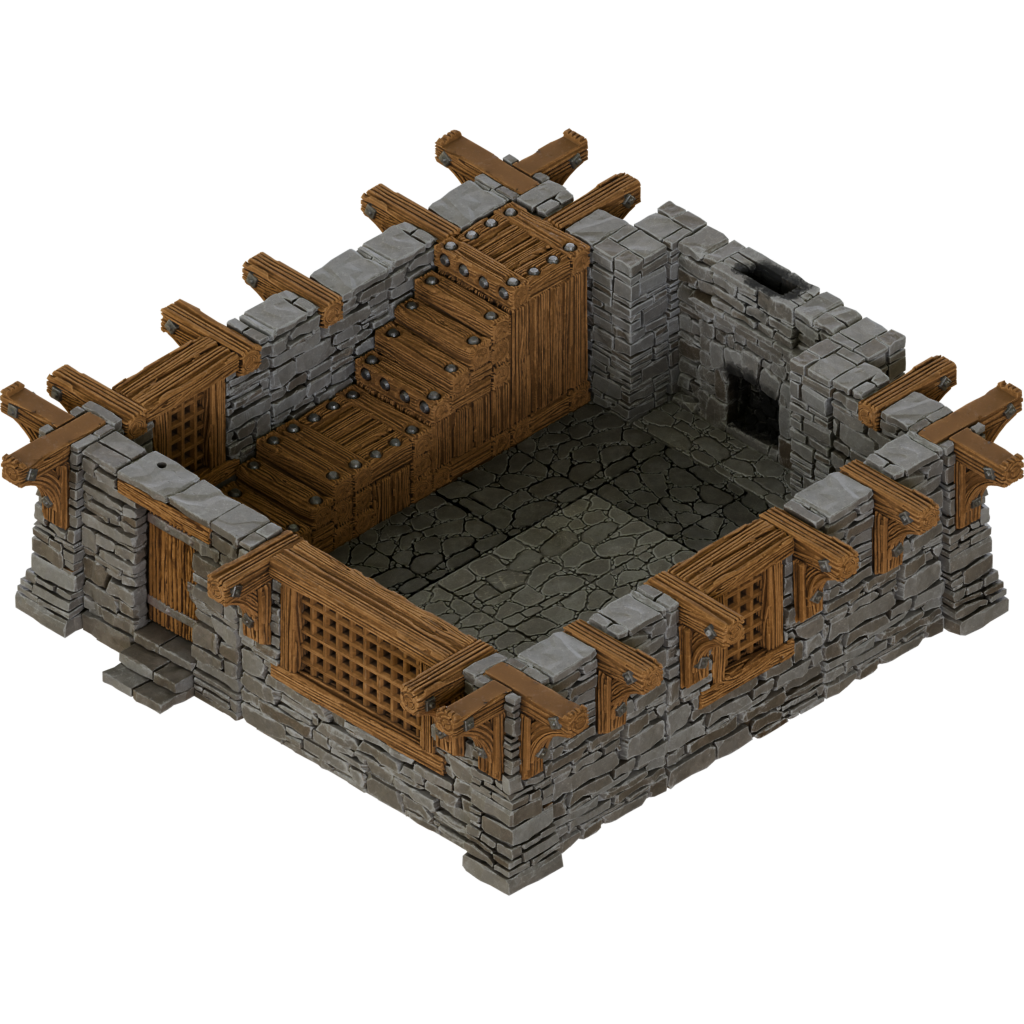
And here we have our completed render!!
Changing Floor
If you had a multi-story scene, we aren't quite done yet but the steps are simple to render your higher floors.
In the Scene Object list, change the collection you are viewing by toggling off the eye and camera on the Bottom layer and toggling them on in your next layer:

Then right click your main layer, click Select Objects then in the top left of the window open View > Align View > Align Active Camera to Selected.
Once this is done your view will have shifted to match the new layers height and you can run the render again:

Extra: Render size
Renders default to 1920x1080 pixels and you can change them under Output Properties:

After doing this you will need to reposition your Camera by selecting your models and running View > Align View > Align Active Camera to Selected.
Extra: Zooming out
In case you want everything to be smaller without crunching up from resizing the image in other software, you can change the Orthographic Scale to a larger number under Camera Properties:

Be sure to select the Camera to make the Camera Properties show up.
Extra: Hiding a few models
You can hide models one at a time by clicking on them in the 3D Viewport and then scrolling to find it in the Scene Object list. To speed this up after clicking the model, hover your mouse over the Scene Object list and press . on your numpad. If you don't have a numpad press F3 and type Show Active.
Toggle the eye and camera to turn it off in the viewport and in renders.
Repeat until you have done so for all the models you wish to hide, then render again:

Extra: HDRI Lighting
If you want to use lighting that casts more differentiated shadows a simple way is to use HDRIs. These are 360 degree photos of real world scenes that are used to influence the lighting color and brightness in Blender.
You can download an HDRI of your choosing from websites like HDRI-Haven or PolyHaven. A 2k resolution one should be enough for what we are working on. You can also get the one that Terrain Tinker uses by default here.
Adding the HDRI to Blender
Once you have your HDRI, open the World Properties, click the yellow dot next to Color and select Environment Texture. Then click the Open button and select the HDRI you downloaded.

You may want to adjust the Strength to tweak how much of the brightness is coming through. This is easiest to do in Viewport shading mode which you can enable in the top right of the 3D viewport:

More?
Blender is really great and free software that has lots of tutorials on YouTube and other websites. You could look up how to add individual lights, improve render settings or making it into an animation.
If you have anything specific that you would like to see in Blender related to Terrain Tinker send us a message!
Fin.
I hope this tutorial was helpful and would love to hear any feedback on it!
Send us an email or post in our Discord with what you created and your thoughts!